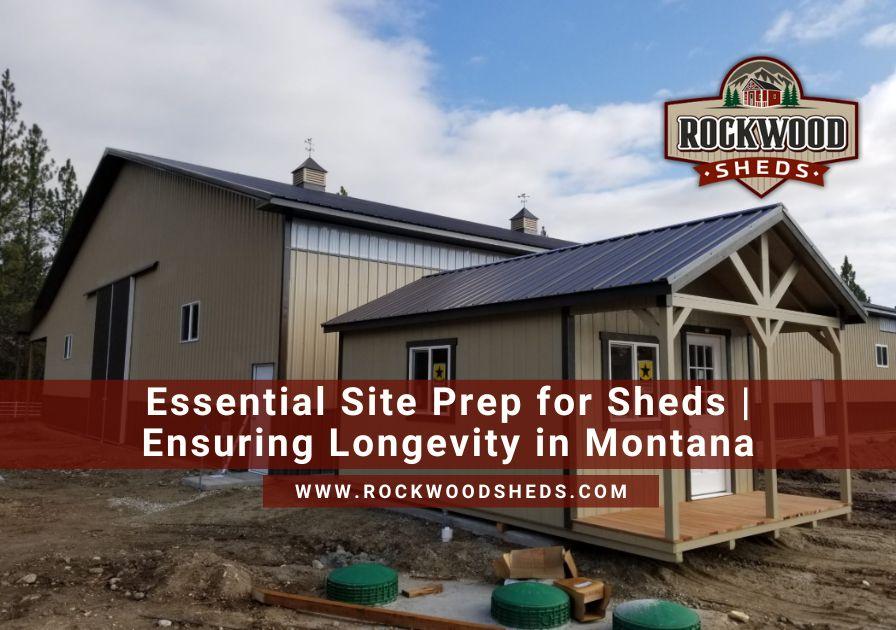
Essential Site Prep for Sheds | Ensuring Longevity in Montana
Want to make sure your new shed lasts for years on your Montana property? Proper site prep is the key to keeping your shed sturdy and safe, no matter the weather. This guide will show you the simple steps to get it right.
Montana’s wild weather can be tough on sheds, from heavy snow to strong winds. A solid foundation protects your investment and keeps your shed functional for the long haul. Let’s dive into the easy ways to prep your site and make your shed stand strong.
Importance of Site Preparation
Site preparation is the bedrock of your shed’s longevity. Without a properly prepared site, even the highest quality shed can fall victim to issues like uneven settling, water damage, or pest infestations. This initial effort directly impacts the structural integrity, functionality, and overall lifespan of your shed. Taking the time to prepare the site correctly will save you headaches and costly repairs down the line, ensuring your shed remains a valuable asset for decades.
Key Steps in Preparing Your Shed Site
Choosing the Right Location for Your Shed
Selecting the ideal location is the first step in successful site preparation. Consider factors beyond just available space. Think about accessibility for construction and future use, drainage patterns to avoid water pooling, and proximity to utilities if your shed will require power or water. Also, assess sun exposure if you plan on using your shed as a Studio Sheds or for gardening, as consistent sunlight can be beneficial for specific uses. Avoid low-lying areas prone to standing water, as this can lead to rot and structural damage over time.
Clearing and Leveling the Site
Once you have identified your prime location, the next step involves clearing the area. Remove all vegetation, including grass, weeds, and roots, to prevent future growth beneath your shed. This also helps deter pests. After clearing, the ground must be perfectly level. Even a slight slope can lead to uneven weight distribution, putting stress on the shed’s frame and potentially causing doors and windows to warp or stick. For minor leveling, a rake and shovel might suffice, but for significant slopes, you may need to consider excavation or bringing in fill dirt to create a truly flat surface.
Ensuring Proper Drainage
Montana’s weather can bring everything from heavy snowmelt to torrential downpours, making proper drainage paramount. Water accumulation around your shed’s foundation is a significant threat. Before laying any foundation material, ensure the site has a slight slope away from where your shed will sit. This directs water away naturally. You might also consider installing a French drain or a gravel perimeter around the shed to divert excess water. Proper drainage protects the shed’s base from rot, prevents mildew, and keeps the interior dry.
Selecting Your Shed Foundation Type
The type of foundation you choose significantly impacts your shed’s stability and durability. Each option has its advantages depending on your shed’s size, weight, intended use, and the soil conditions of your site.
- Gravel Base: A popular and cost-effective choice, a gravel base provides excellent drainage and a stable, level surface. It typically involves excavating a few inches, laying down a weed barrier, and then filling with compacted gravel. This option is ideal for most standard sheds and helps prevent moisture wicking up into the structure.
- Concrete Slab: For heavier sheds, such as an Amish Barn or a workshop housing heavy machinery, a concrete slab offers the most robust and permanent foundation. It provides maximum stability and protection against moisture and pests. Pouring a concrete slab requires precise leveling and adequate curing time, but it offers unparalleled durability.
- Concrete Piers or Blocks: This method involves setting concrete blocks or pre-cast piers on a level gravel pad. The shed then rests on these supports, elevating it off the ground. This provides excellent airflow beneath the shed, which is beneficial for preventing moisture buildup and deterring pests. It is a good option for varying terrain, though significant leveling is still necessary for the pads.
Preventing Pest Infestation
Site preparation is also your first line of defense against unwanted pests. By clearing vegetation and ensuring proper drainage, you remove potential habitats and water sources that attract insects and rodents. For added protection, consider placing a layer of gravel around the perimeter of your shed. The sharp edges of gravel are uncomfortable for many pests to traverse. Additionally, ensure there are no gaps or openings in your shed’s foundation once it is installed.
Considering Accessibility and Future Use
Think beyond the immediate installation. Will you need a clear path to your shed for moving large items, such as tools or equipment? Plan for easy access, considering pathways or ramps if necessary. If you envision your shed evolving into a specialized space, like a Cottage Sheds for crafts or a dedicated workshop, factor in future utility connections or modifications during your initial site planning. Anticipating these needs now can save you considerable effort and expense later.
Conclusion
Proper site preparation is a fundamental step that ensures your shed stands the test of time, enduring Montana’s demanding climate and serving its purpose effectively for years. From meticulously choosing the right location and ensuring optimal drainage to selecting the appropriate foundation and implementing pest prevention strategies, each element plays a vital role in your shed’s structural integrity and longevity. Investing time and effort upfront in these preparatory stages safeguards your investment, providing you with a reliable and enduring outdoor structure. Remember, a strong beginning leads to a strong finish, especially when it comes to building a lasting shed.
- Visit Our Inventory: Explore our ready-to-go buildings available for immediate setup and find your perfect shed today.
- Design Your Shed: Use our innovative 3D designer tool to customize a shed that perfectly fits your unique needs and style.
- Get a Free Quote: Request a no-obligation quote and get pricing on your new, high-quality shed today.
- Contact Rockwood Sheds: Have questions or need expert advice? Call us directly at 406-802-4682.
FAQs:
Q1: How important is leveling the ground before installing a shed?
Leveling the ground is extremely important. An unlevel base can lead to uneven weight distribution, causing the shed’s frame to twist or doors and windows to become misaligned over time. Proper leveling ensures structural integrity and extends the lifespan of your shed.
Q2: What are the main benefits of a gravel base for a shed?
A gravel base offers excellent drainage, preventing moisture buildup beneath the shed that can lead to rot and mildew. It also provides a stable, relatively inexpensive, and easy-to-install foundation for many shed types.
Q3: Can I install a shed directly on grass or dirt?
Installing a shed directly on grass or dirt is not recommended. This can lead to significant problems like moisture damage, pest infestations, and uneven settling, which will compromise the shed’s structure and durability over time.
Q4: How do I prevent pests from entering my shed?
Preventing pests begins with thorough site clearing and ensuring good drainage. Elevating the shed on a proper foundation, sealing any gaps, and using a gravel perimeter can significantly deter rodents and insects from making your shed their home.
Q5: What are the benefits of choosing a professional for shed site preparation?
A professional like Rockwood Sheds brings expertise in assessing site conditions, recommending the best foundation type, and executing the preparation work precisely. This ensures your shed is built on a solid, long-lasting foundation, avoiding costly issues down the road.